Why This Matters for Your Business
Google Search Console helps you understand how your website performs in Google’s search results. By connecting it to your WordPress site, you can spot errors, track which search terms bring visitors to your site, and improve your online visibility – all without needing technical expertise.
Did you know?
Search Console is completely free and is one of Google’s most valuable tools for doing search analytics for small business websites.
What You Will Need Before Starting
A Google account (your regular Gmail works fine)
Access to your WordPress dashboard (yourwebsite.com/wp-admin)
Your website address (URL)
Simple Step-by-Step Instructions to Connect Google Search Console to Your WordPress Site
Step 1: Create Your Google Search Console Account
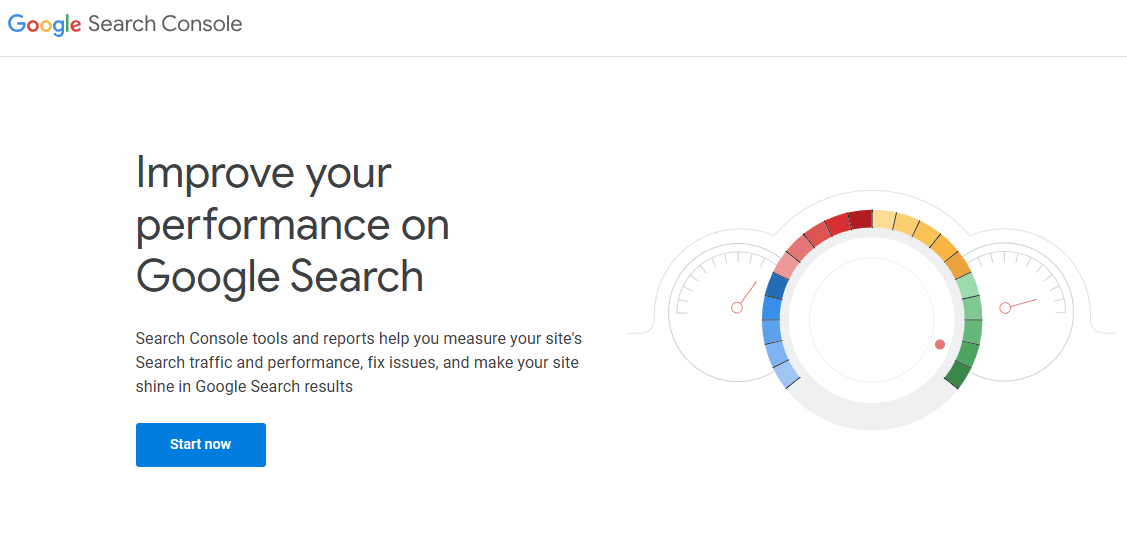
Sign in with your Google account or create one if needed
Click “Add Property”
Choose a property type:
URL prefix: Use this if you only want to track a specific version of your site (easier option)
Domain: Use this to track all versions of your site (www, non-www, http, https)
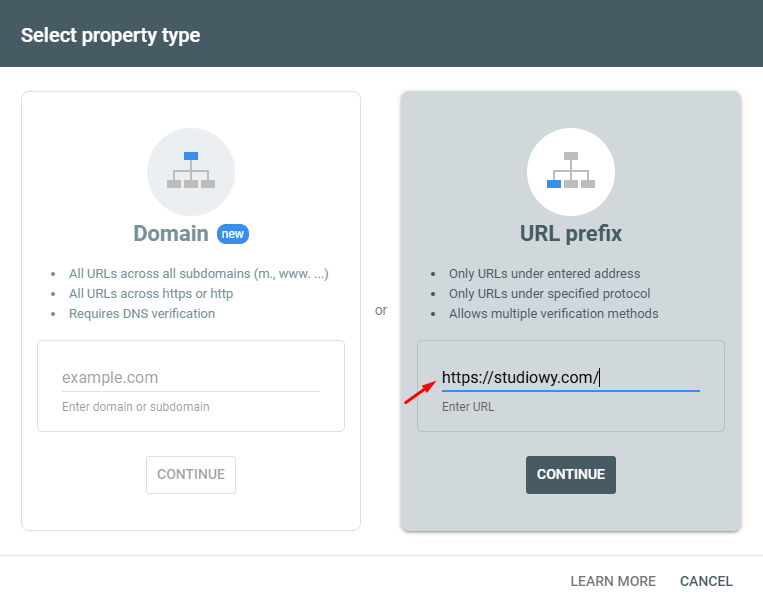
For most small businesses, choose “URL prefix” as it’s simpler
Enter your website address (including https:// and whether you use www or not)
Click “Continue”
Tip
Not sure about your website address format? Just check what appears in your browser when you visit your site.
Step 2: Verify Your Website Ownership
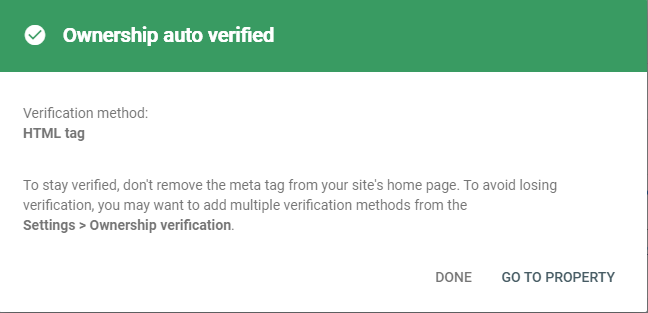
Google Search Console verification is necessary to confirm your ownership of the website and access essential tools for SEO. Google needs to confirm you own the website before showing you data.
Here are the easiest methods:
Option A: Using Site Kit by Google (Recommended)
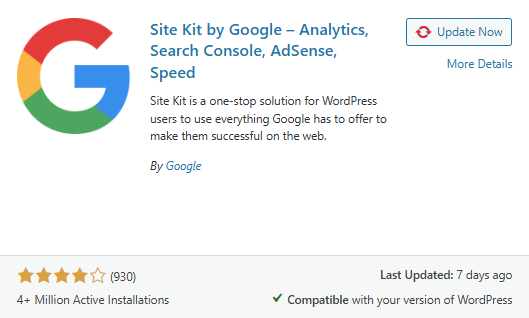
In your WordPress dashboard, go to “Plugins” → “Add New”
Search for “Site Kit by Google”
Click “Install Now” then “Activate”
Click on the new “Site Kit” menu item in your dashboard
Click “Start Setup”
Sign in with the same Google account you used for Search Console
Follow the guided google site verification process
Grant the necessary permissions when prompted
The plugin will handle google search console verification automatically
Option B: Using Yoast SEO Plugin
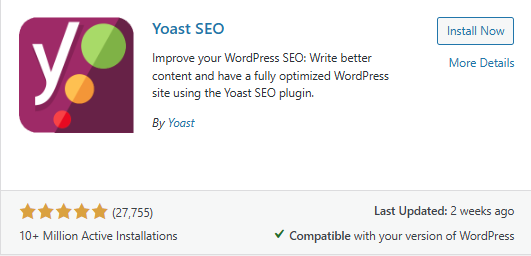
The Yoast SEO plugin simplifies the search console verification process by allowing you to easily add the HTML verification code to your site.
In your WordPress dashboard, go to “Plugins” → “Add New”
Search for “Yoast SEO”
Click “Install Now” then “Activate”
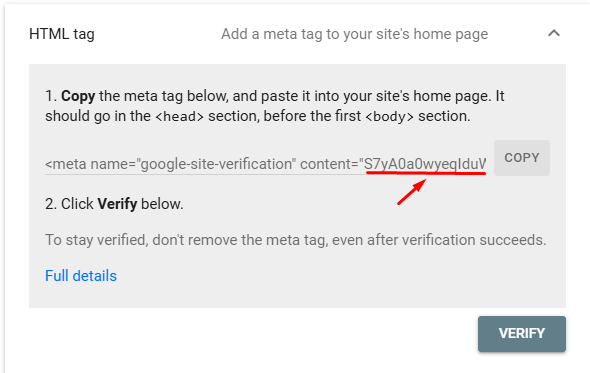
In Google Search Console, select the “HTML tag” verification method
Copy the entire meta tag (it looks like < meta name=”google-site-verification” content=”a-long-code”>)
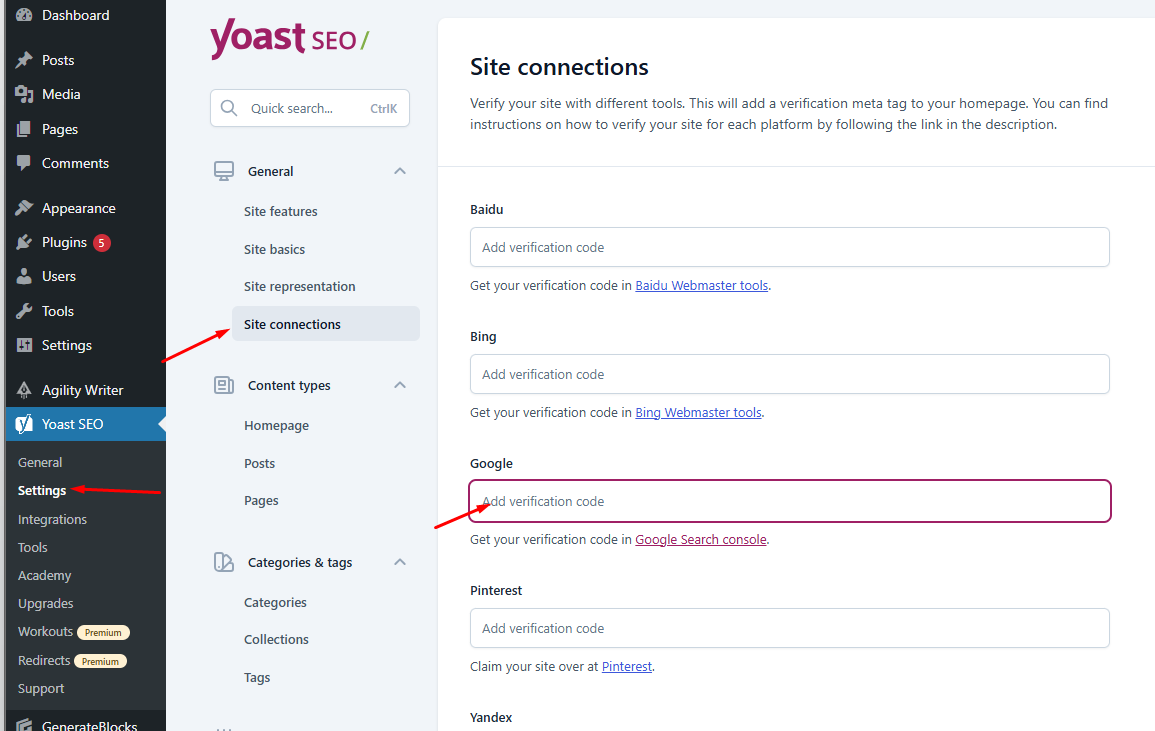
In your WordPress dashboard, go to “Yoast SEO” → “Settings”
Click the “Site connections” tab
Paste the code into the “Google verification code” field (just the code portion, not the entire tag)
Save changes
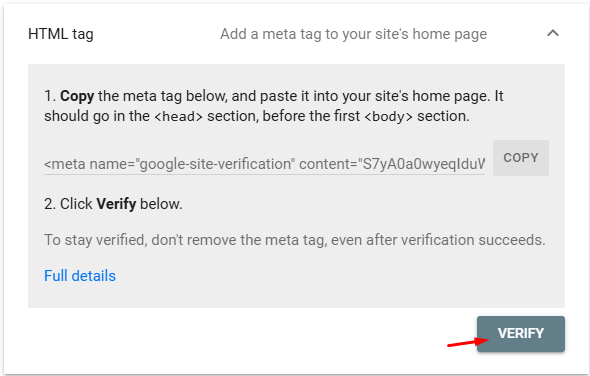
Return to Google Search Console and click “Verify”
Option C: Using Rank Math SEO Plugin
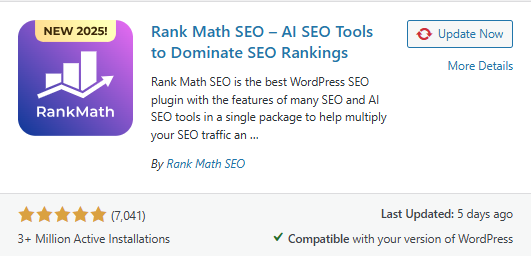
In your WordPress dashboard, go to “Plugins” → “Add New”
Search for “Rank Math SEO”
Click “Install Now” then “Activate”
When prompted, run through Rank Math’s setup wizard (you can skip most steps for now)
In Google Search Console, select the “HTML tag” verification method
Copy the verification code (only the content value, not the entire meta tag)

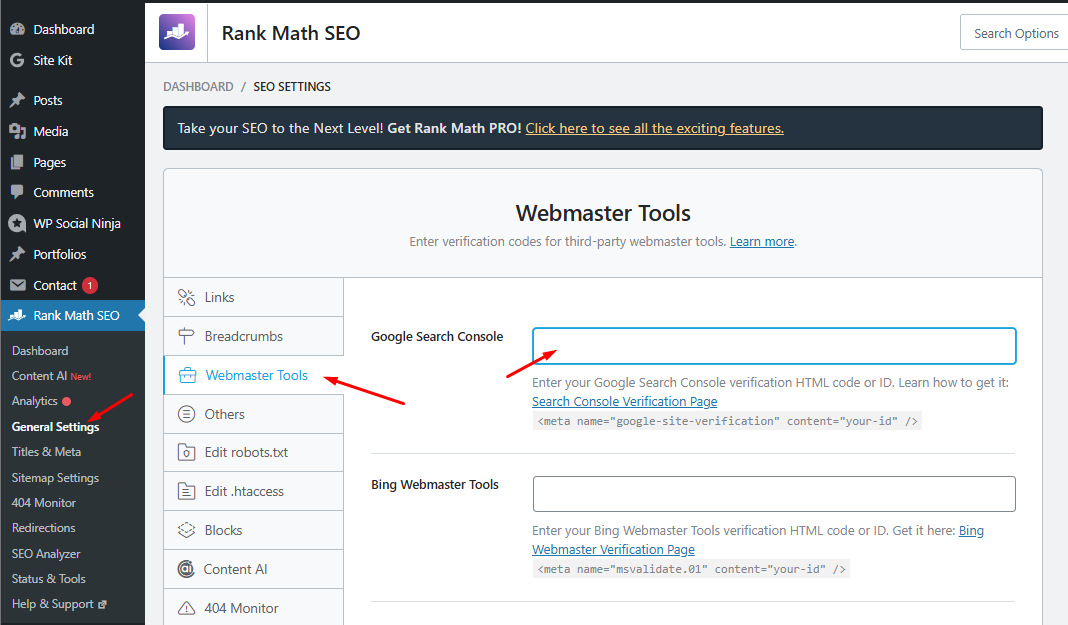
In your WordPress dashboard, go to “Rank Math” → “General Settings”
Click on the “Webmaster Tools” tab
Paste the code into the “Google Search Console” field
Save changes
Return to Google Search Console and click “Verify”

Pro tip
Rank Math also offers a direct google Search Console data integration in their dashboard under “Rank Math” → “Analytics”. This gives you Search Console data right inside WordPress without having to visit Google’s website.
Option D: Using WPCode Insert Headers and Footers Plugin
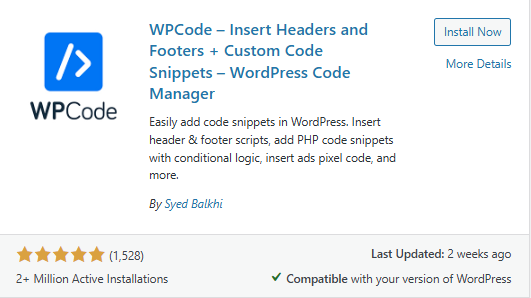
In your WordPress dashboard, go to “Plugins” → “Add New”
Search for “Insert Headers and Footers”
Click “Install Now” then “Activate”
In Google Search Console, select the “HTML tag” verification method
Copy the entire meta tag
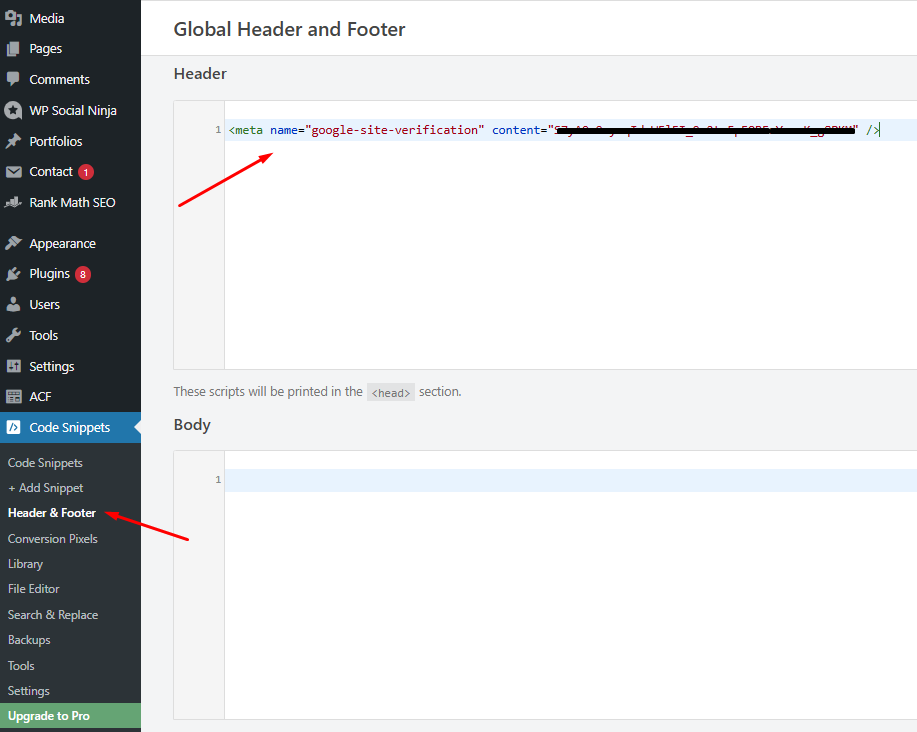
In your WordPress dashboard, go to “Code Snippets” → “Header & Footer”
Paste the code into the “Header” box
Save changes
Return to Google Search Console and click “Verify”

Option E: Using Google Tag Manager for Verification
First, create a Google Tag Manager account at tagmanager.google.com if you don’t already have one
Create a new container for your website and install the GTM code on your site:
You can do this manually by adding the code to your header and body sections
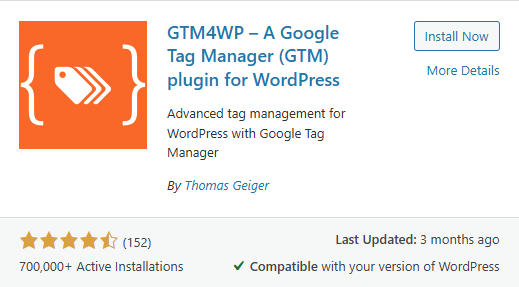
Or use a plugin like “GTM4WP” (Google Tag Manager for WordPress)
In Google Search Console, select the “HTML tag” verification method
Copy the verification code (the entire meta tag)

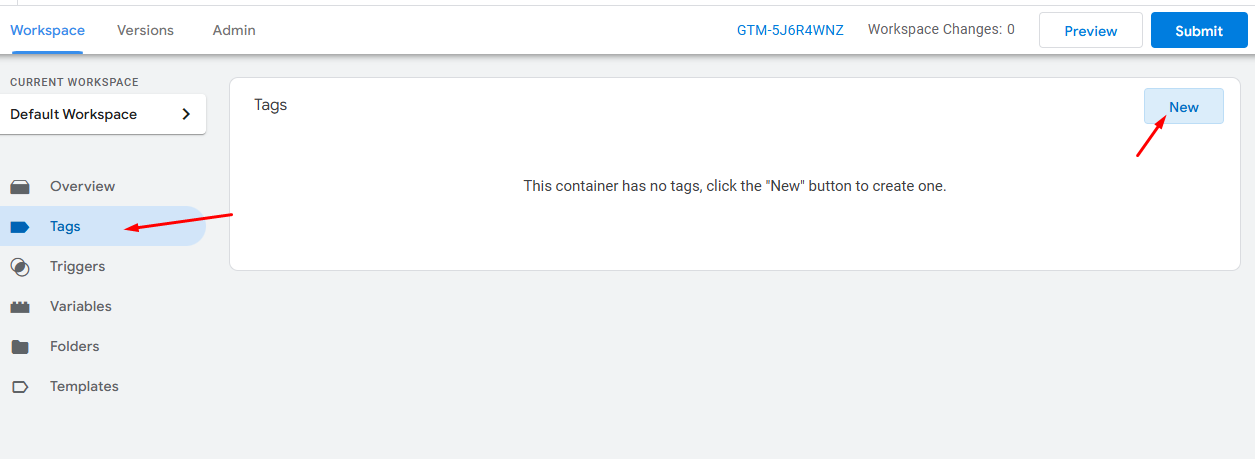
In Google Tag Manager, click “Tags” → “New”
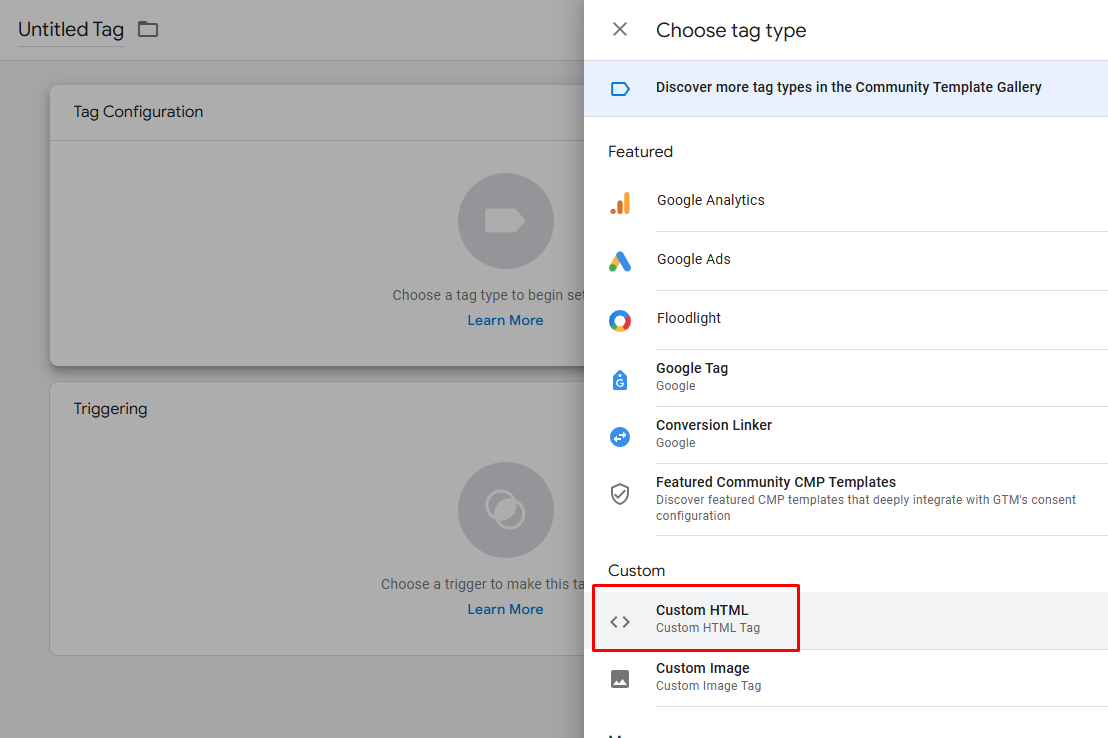
Choose “Custom HTML” as the tag type
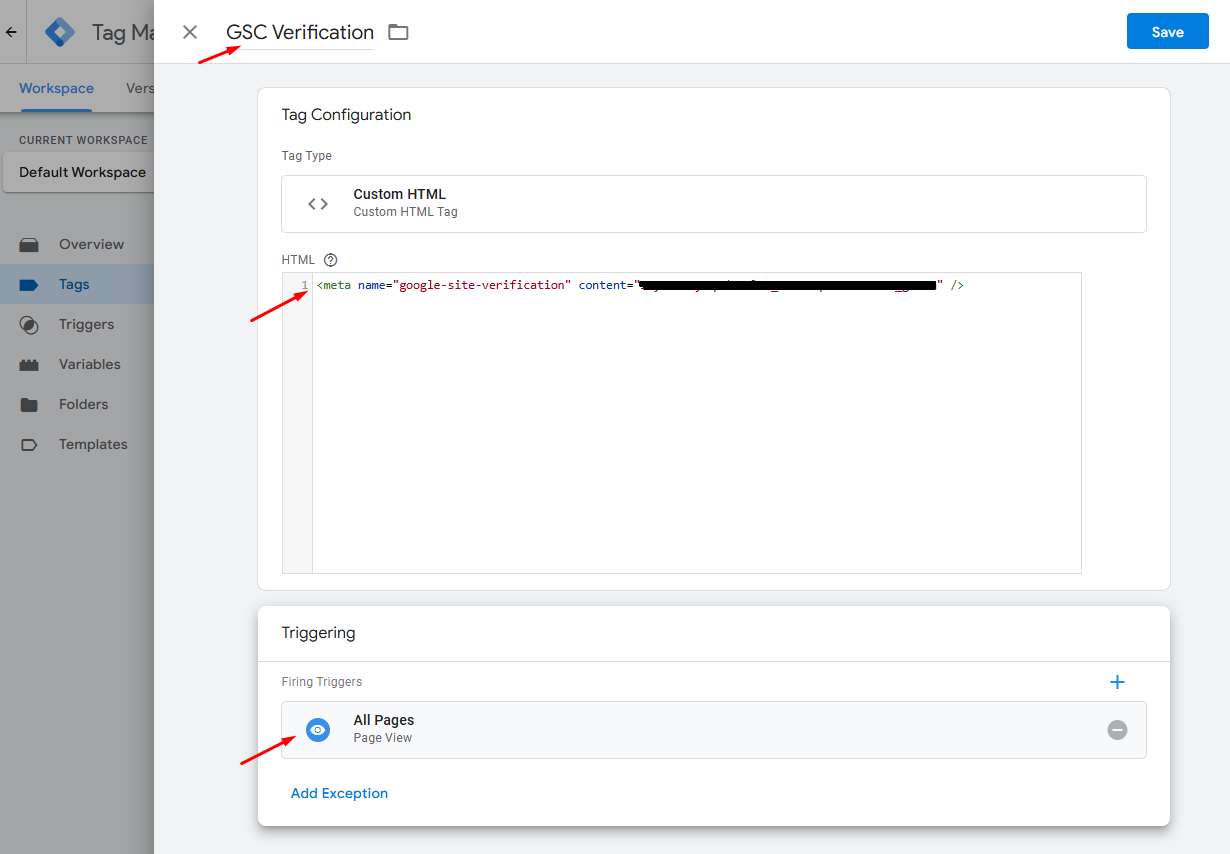
Paste the Google verification meta tag into the HTML field
Under “Triggering,” select “All Pages”
Click “Save” and then “Submit” to publish your changes
Return to Google Search Console and click “Verify”

Pro tip
This method is particularly useful if you’re already using Google Tag Manager to manage other tracking codes on your site. It centralizes all your Google services in one place, making future changes easier to manage.
Option F: DNS TXT Record Verification Method (For Domain Property)
If you selected the “Domain” property type in Google Search Console, you’ll need to verify ownership using a DNS TXT record. Here’s how:
In Google Search Console, after selecting “Domain” property type and entering your domain, you’ll be prompted to verify via DNS
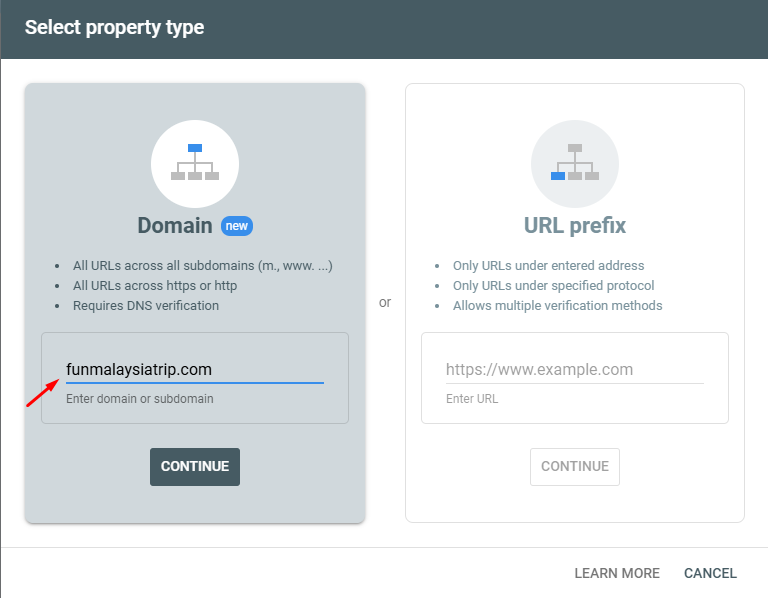
Google will provide you with a TXT record value (it will look something like google-site-verification=xxxxxxxxxxxxxxxx)
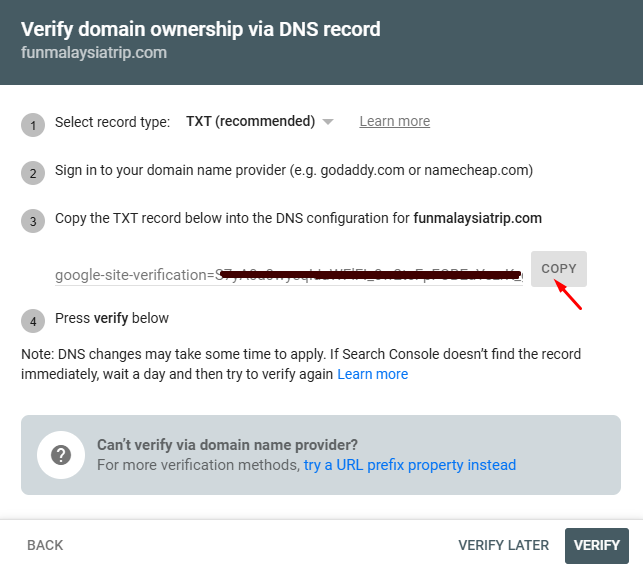
Log in to your domain registrar (such as GoDaddy, Namecheap, Bluehost, etc.)
Navigate to your domain’s DNS settings or DNS management area
Look for an option to add a new DNS record or TXT record
Create a new TXT record with these settings:
Host/Name: Usually @ or leave blank (represents your root domain)
Type: TXT
Value/Data: Paste the full google site verification code Google provided
TTL: Default (or 3600/1 hour if you need to specify)
Save the changes
Wait 10-30 minutes for DNS changes to propagate
Return to Google Search Console and click “Verify”
Important note: DNS changes can take up to 48 hours to fully propagate, though they often work much sooner. If verification fails initially, wait a few hours and try again.
Pro tip
This verification method is more comprehensive as it verifies all versions of your site’s search traffic (www, non-www, http, https) at once, but requires access to your domain’s DNS settings rather than just your WordPress dashboard.
Which Verification Method to Choose?
Not sure which Google Search Console verification method is right for your business? Here’s my simple recommendation:
For most business and website owners, the Site Kit by Google plugin (Option A) offers the easiest solution with the least technical hassle. It’s Google’s official WordPress plugin that handles verification automatically and shows your data right in WordPress.
If you already use an SEO plugin like Yoast or Rank Math, use their built-in verification option instead of installing something new. This keeps things simple and avoids plugin conflicts.
Still uncertain? Contact me for a quick recommendation based on your specific website setup.
Step 3: Submit Your Sitemap
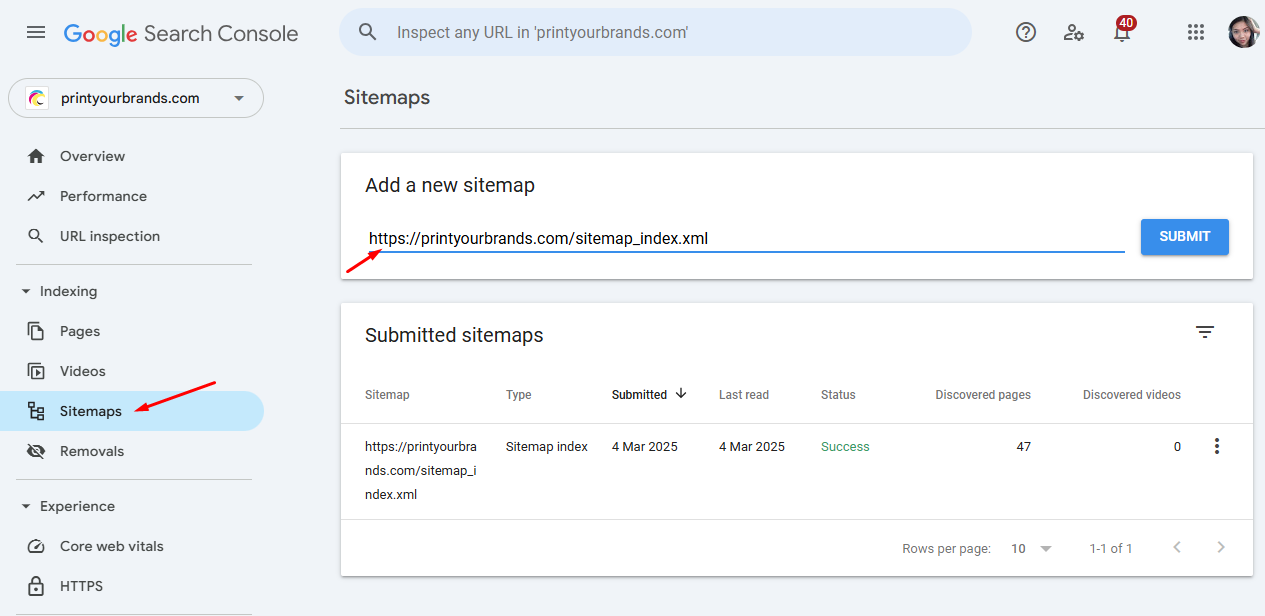
In Google Search Console, select your property
Click “Sitemaps” in the left menu
In the “Add a new sitemap” field, enter:
If using Yoast SEO: sitemap_index.xml
If using Rank Math: sitemap_index.xml
If using Site Kit: your sitemap location should be detected automatically
Click “Submit”
Pro tip
If you’re not sure where your sitemap is, check your SEO plugin’s settings or visit yourwebsite.com/sitemap.xml to see if it exists.
Common Questions from Business Owners
Q: What if verification doesn’t work?
A: Double-check that you’ve copied the entire verification code correctly and placed it in the right field. If you’re still having issues, contact me for a quick troubleshooting session.
Q: How long until I see data about my website?
A: Data typically starts appearing within 3-5 days after verification. New websites might take longer.
Q: Will this slow down my website?
A: No, Google Search Console works in the background and doesn’t affect your site’s performance.
Q: Do I need to verify my site again if I make changes to my WordPress theme?
A: If you use a plugin method, you typically won’t need to re-verify. If you used the manual HTML tag method, you might need to add the code again after changing themes.
Q: What’s the difference between Search Console and Google Analytics?
A: Google Search Console, previously known as Google Webmaster Tools, shows how your site appears in Google search results, while Analytics shows what visitors do on your site. Together, they give you the complete picture of your online presence.
Need Help Implementing These Steps?
While this guide simplifies the process, I understand you have a business to run and might not want to spend time on technical tasks.
Two ways to get support from WordPress experts:
- Contact me directly – Want Google Search Console set up correctly without the technical frustration? Visit our Contact page and I’ll handle the entire process for you. I can help you:
- Set up and verify your Google Search Console account properly
- Connect your WordPress site using the most efficient method
- Submit your sitemap to improve site indexing
- Provide a 30-minute walkthrough of your site’s search performance
- Join a community – For ongoing WordPress and SEO support, consider joining the Wealthy Affiliate Community. Thousands of entrepreneurs share their knowledge and can answer your questions about Google tools integration.
Remember: Understanding how people find your business online is essential for growth in today’s digital world. Whether you implement these steps yourself or reach out for help, connecting Google Search Console to your WordPress site is one of the most valuable actions you can take for your online presence.